

There are days when it’s really slow in the photo studio and you have nothing to shoot. There are also days when you want to practice what you’ve learned from workshops and online course. It was exactly such a day a few weeks ago. I looked around in the studio and I saw GOGroove BlueSYNC SRC bluetooth speaker next to my desk. This bluetooth speaker has been in our studio for almost a year and it was time for me to practice some lighting techniques for product photography with this item. I will walk you through my process from shooting and setting up the equipment to post-processing.
Equipment
I have to admit first and foremost that the flash heads and power packs I had to use for this shoot are my least favourite ones and setting up power for each of these flash head is always a guess. So I can’t give you the exact power for each flash head. This is the equipment I used:
- Nikon D7000
- Nikkor 24-70mm F2.8
- 3 honeycomb grids (each flash head had one)
- 2 white bounce cards
- black gaffer tape
- 2x PocketWizzard Transceivers
- 3 Flash heads and a power pack
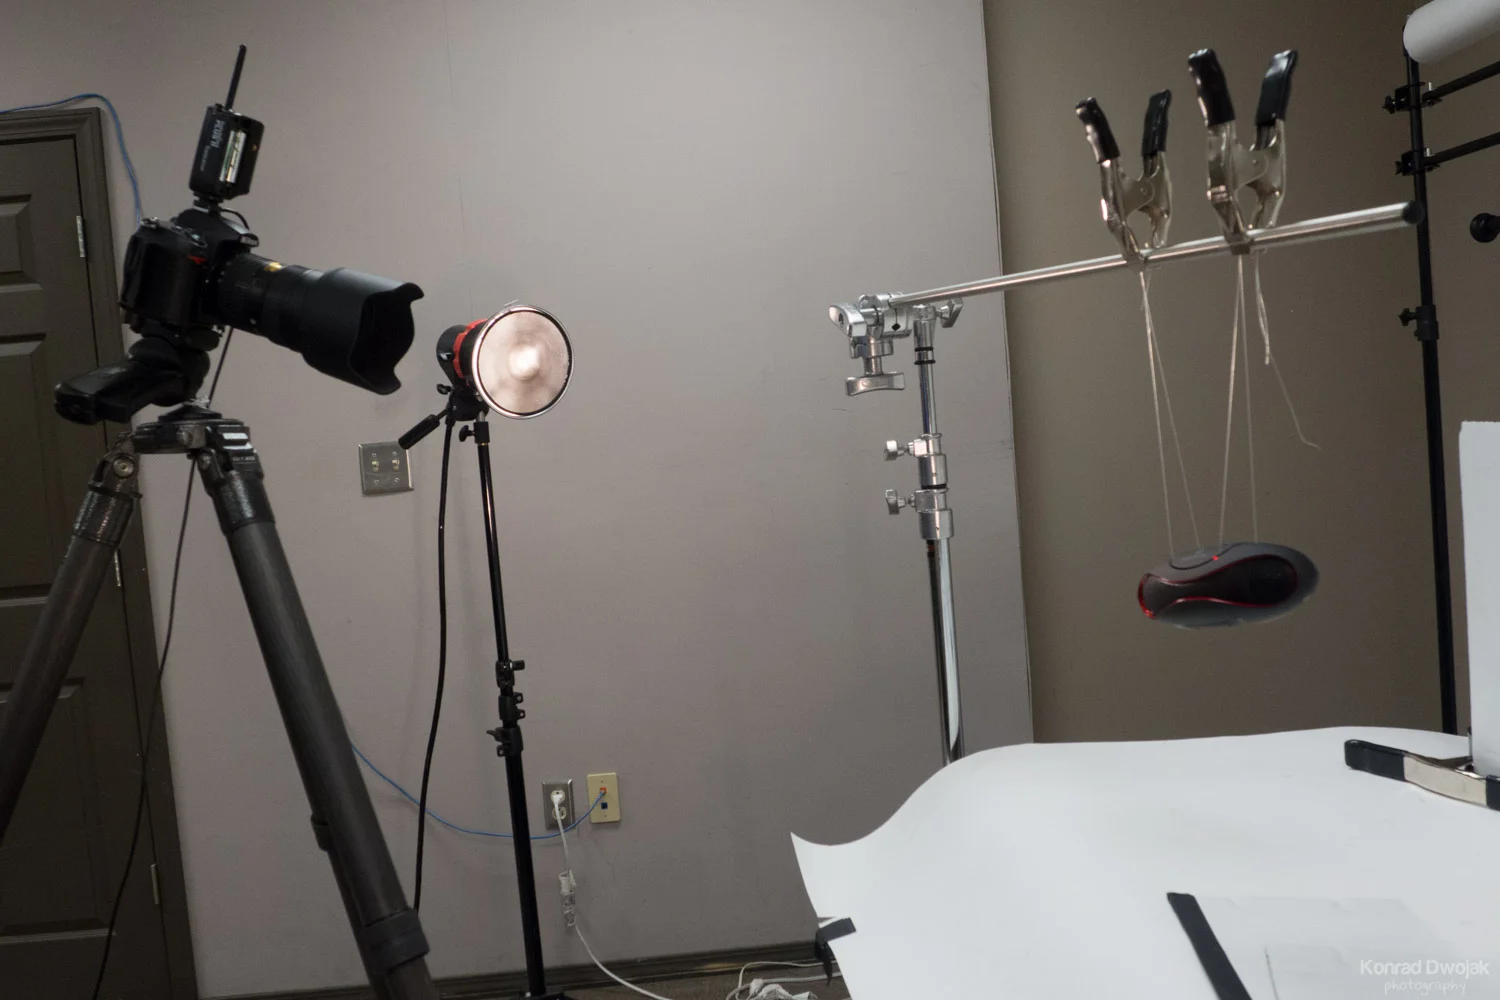
The setup - 3 flash heads, Nikon D7000, Nikkor 24-70mm and the bluetooth speaker on a fishing line
I strongly believe that having the exact same equipment is not so important in this case. I could have shot it with a completely different camera (for example, a micro 4/3 camera) and different flash heads. The most important here is to have the control over the light, both in terms of power and the direction. The use of the honeycomb grids and the gaffer tape was essential and without these I probably wouldn’t be able to get the results I wanted.
Camera Setting
You might notice in the final image that there is red light just under the part on the bluetooth speaker where the buttons are located. This red light indicates that the bluetooth speaker is on. I wanted to capture this light and therefore I had to make sure that my shutter speed was open for long enough to get the ambient light recorded by the camera’s sensor. Here are the camera settings: ISO 200, f/14, shutter speed 3 sec.

The lighting diagram
Setup
I wanted to take a picture slightly from above (to show all the buttons on the top of the item) and under an angle (to give more 3D dimension to the picture). I used 2 pieces of a fishing line to hang the bluetooth speakers on a c-stand and I positioned the camera a bit higher than the speakers were.
The flash head position on the left side with honeycomb grid
I placed the first flash head (with a honeycomb grid) to the left from the product. I wanted to create a nice highlight and gradient lighting on the product to show its shape. The other 2 flash heads were on the right side of the product. They also had honeycombs grids on them but I needed these light sources even smaller. I used black gaffer tape and taped over the honeycombs. It took me about an 1hr to fine-tune the position of all the lights.
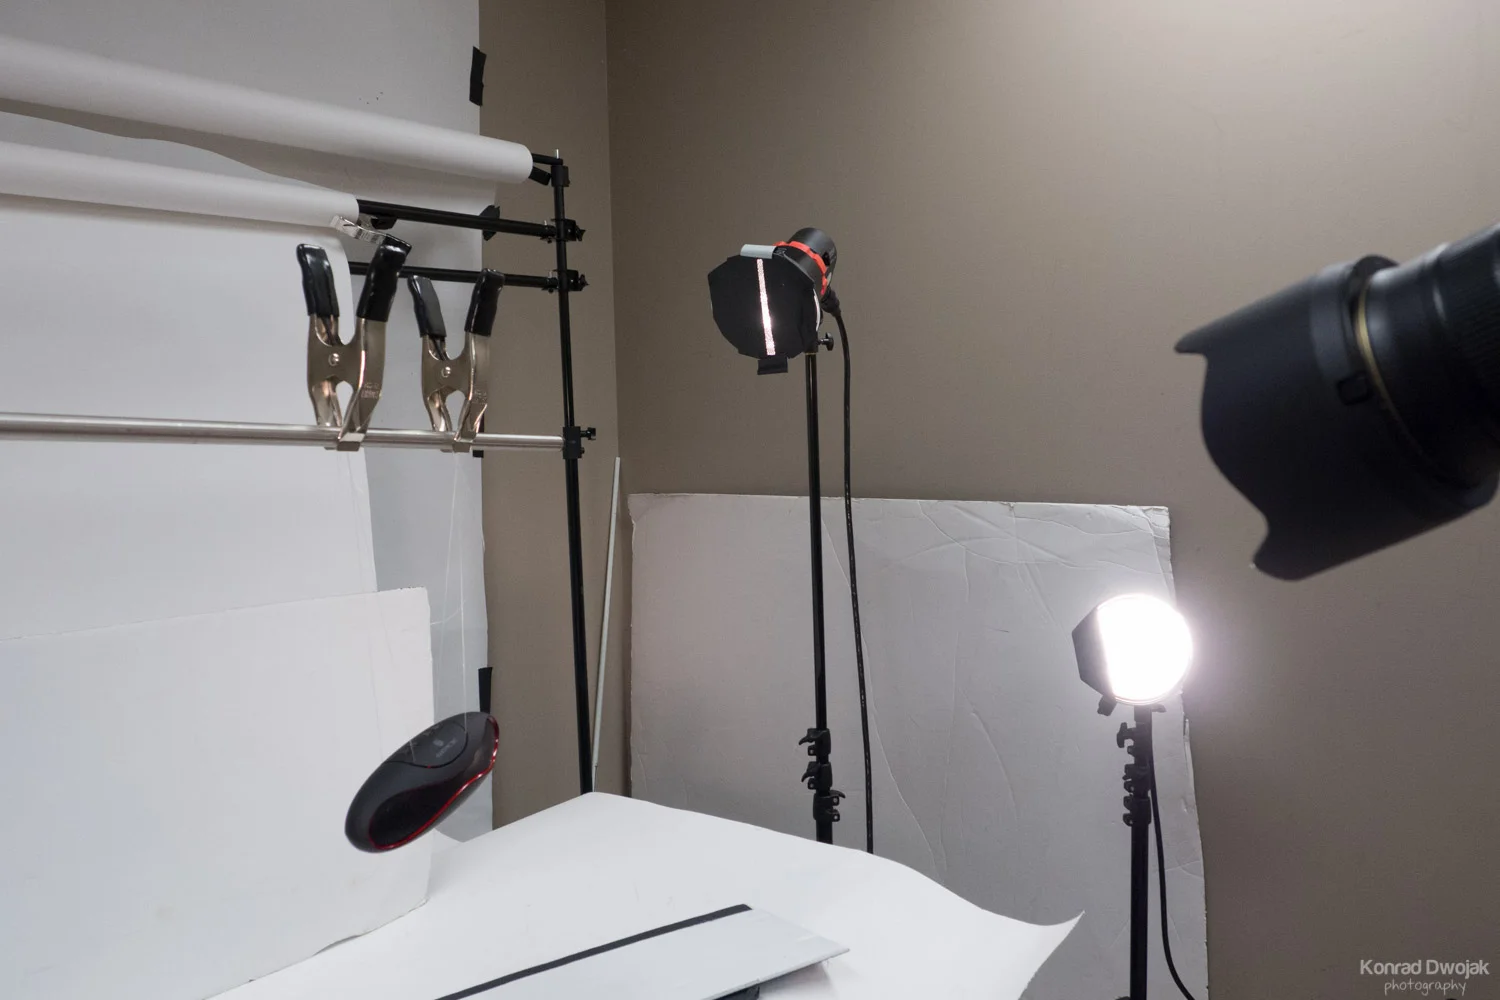
Two flash heads on the right side with honeycomb grids and gaffer tape for smaller light source and better light control.
Finally, I decided that the product was still way too dark, especially the top and bottom parts. I put the camera in timer mode (for delayed exposure) and I handheld 2 white bounce cards - one on top and the second from below.
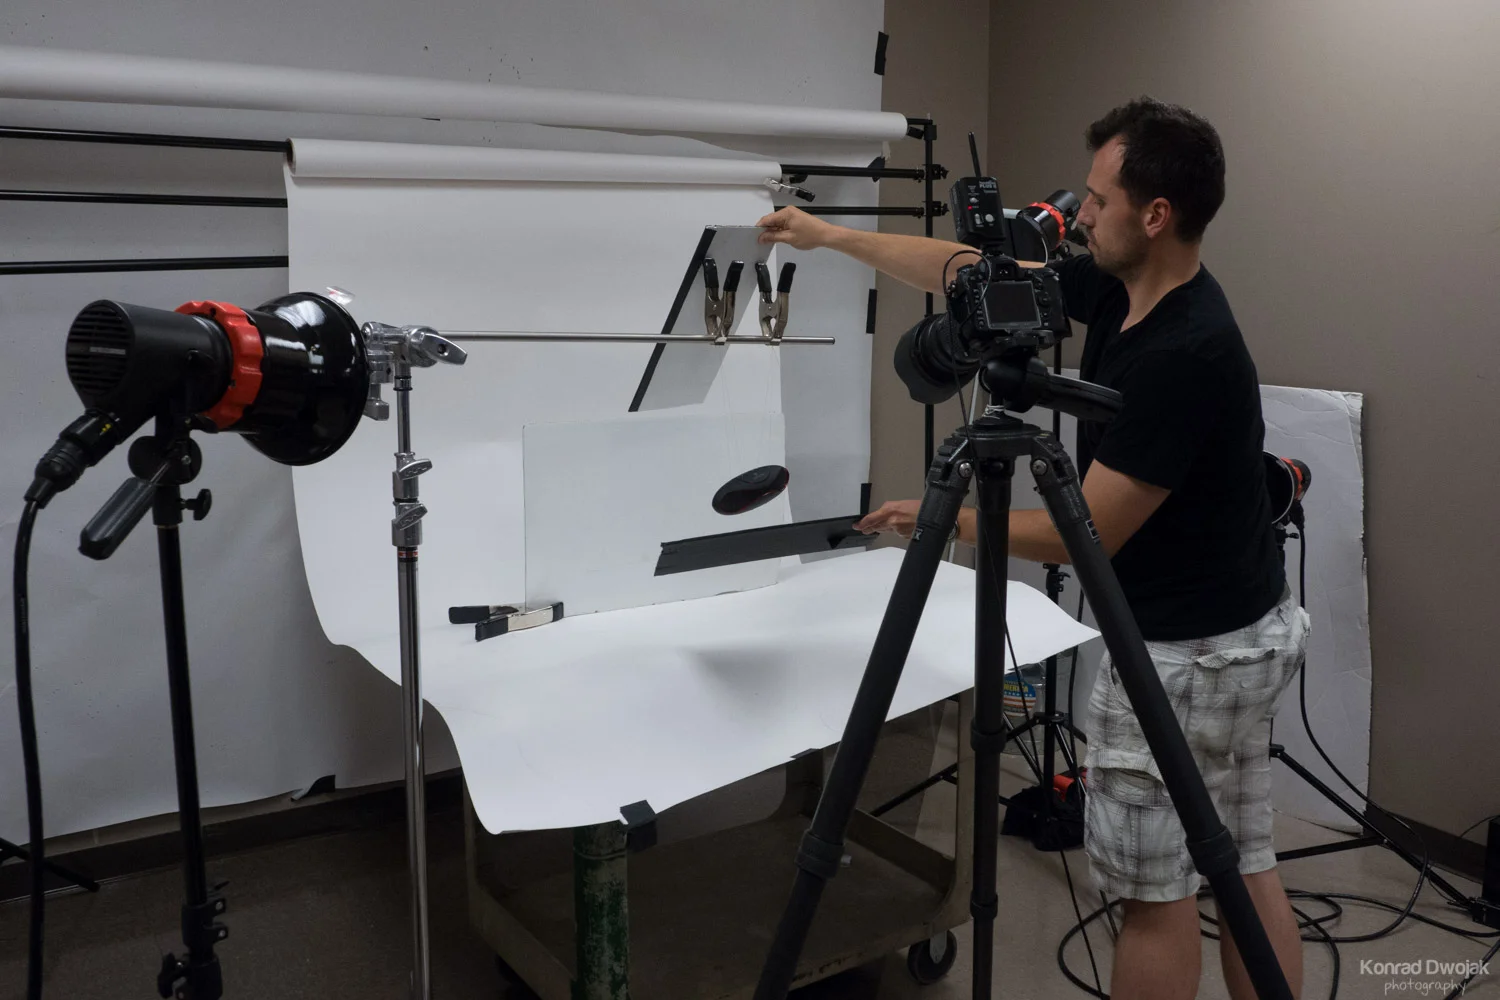
I used 2 white bounce cards to fill light on the top and the bottom of the product.
Post-Processing
I did most of editing and post-processing in Pixelmator (an alternative to Adobe Photoshop on a Mac). Instead of explaining in detail, below is a time-lapse video of the editing I did.